This section provides instructions for installing the MySQL add-on for Parallels Pro Control Panel 10.3.2. Before installing the add-on, ensure that you have installed the following software on your Parallels Pro Control Panel server:
MySQL Server Instance Configuration window:
Note: Since the password encryption is different in MySQL 4.1 and 5.0 than its previous versions, you cannot access the database using phpMyAdmin 2.5.0 provided with Parallels Pro Control Panel. To change this password encryption to support phpMyAdmin 2.5.0:
After installing MySQL 4.1 or 5.0 on the server, go to the directory where MySQL is installed. If you have installed MySQL in the default location, then the path is C:\Program Files\MySQL\MySQL Server < version_no >, where <version_no> is the version of MySQL. For example, C:\Program Files\MySQL\MySQL Server 4.1.
Open the my.ini file present in this directory, type old-passwords in the [mysqld] section, save the file, and close it.
Open a command window, and run the following commands:net stop mysqlnet start mysql
PhpMyAdmin 2.5.0 can now be used to access MySQL 4.1 or 5.0. You can now proceed to installing the MySQL add-on as described below.
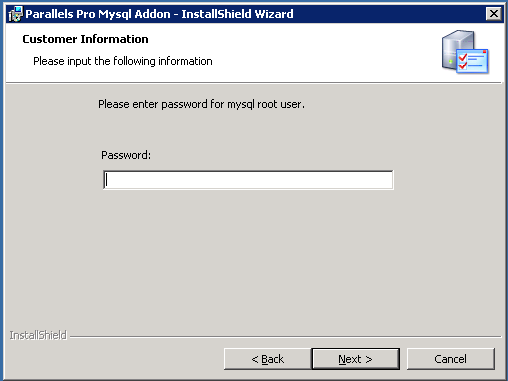
To install the MySQL add-on:
The Parallels Pro Mysql Addon installation window opens.
The MySQL add-on is installed.
An installation log named MysqlInstall.log is created and placed in the < install_dir >\Logs directory, for example, if you have installed Parallels Pro Control Panel 10.3.2 in the default location, then the path is C:\Program Files\Ensim\WEBppliance\Logs. You can view this log file to verify that the add-on has been installed and registered successfully.